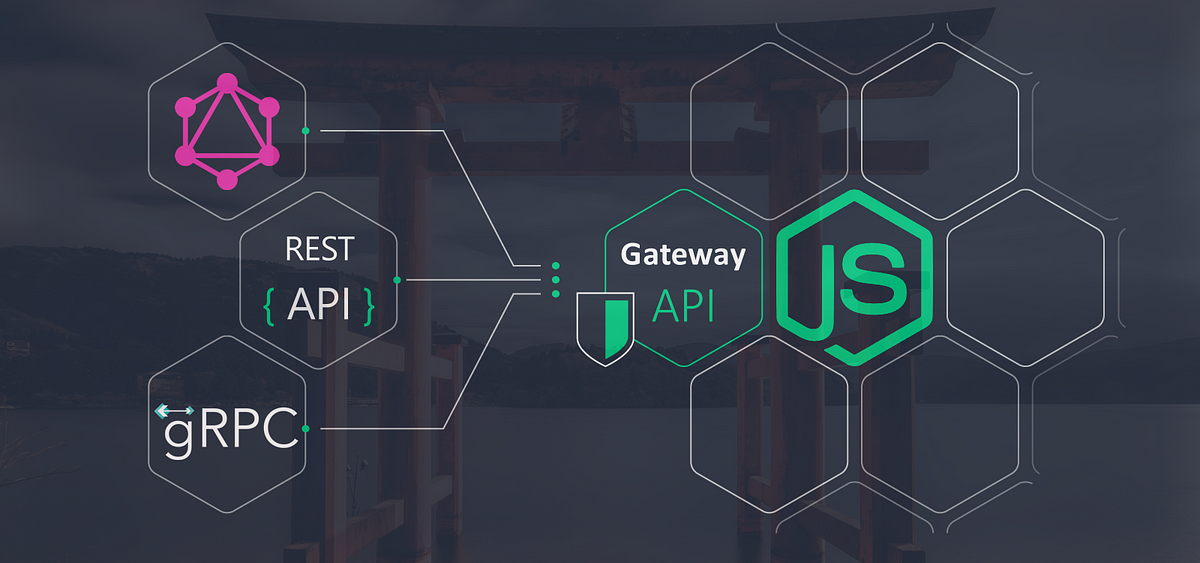
Creating an API Gateway using Node.js and Express.js involves setting up a central service that routes and manages requests to multiple backend services. Below is a step-by-step guide to building a basic API Gateway.
1. Install Dependencies
First, create a new Node.js project and install the required packages:
mkdir api-gateway && cd api-gateway
npm init -y
npm install express http-proxy-middleware dotenv corsexpress: Web framework for Node.jshttp-proxy-middleware: For forwarding requests to microservicesdotenv: For managing environment variablescors: To enable cross-origin requests
2. Project Structure
api-gateway/
│── .env
│── server.js
│── routes/
│   ├── authRoutes.js
│   ├── userRoutes.js
│   ├── productRoutes.js
3. Configure .env
Create a .env file to store microservice URLs:
PORT=5000
AUTH_SERVICE_URL=http://localhost:4001
USER_SERVICE_URL=http://localhost:4002
PRODUCT_SERVICE_URL=http://localhost:4003
4. Create server.js
Set up the Express.js server and define API gateway logic:
require("dotenv").config();
const express = require("express");
const cors = require("cors");

const app = express();
app.use(cors());
app.use(express.json());

// Import route handlers
const authRoutes = require("./routes/authRoutes");
const userRoutes = require("./routes/userRoutes");
const productRoutes = require("./routes/productRoutes");

// Use routes
app.use("/auth", authRoutes);
app.use("/users", userRoutes);
app.use("/products", productRoutes);

// Start server
const PORT = process.env.PORT || 5000;
app.listen(PORT, () => {
  console.log(`API Gateway running on port ${PORT}`);
});
5. Create Route Handlers
Each route will act as a proxy to the corresponding microservice.
routes/authRoutes.js
const express = require("express");
const { createProxyMiddleware } = require("http-proxy-middleware");

const router = express.Router();

router.use(
  "/",
  createProxyMiddleware({
    target: process.env.AUTH_SERVICE_URL,
    changeOrigin: true,
    pathRewrite: { "^/auth": "" }, // Removes `/auth` prefix
  })
);

module.exports = router;
routes/userRoutes.js
const express = require("express");
const { createProxyMiddleware } = require("http-proxy-middleware");

const router = express.Router();

router.use(
  "/",
  createProxyMiddleware({
    target: process.env.USER_SERVICE_URL,
    changeOrigin: true,
    pathRewrite: { "^/users": "" },
  })
);

module.exports = router;
routes/productRoutes.js
const express = require("express");
const { createProxyMiddleware } = require("http-proxy-middleware");

const router = express.Router();

router.use(
  "/",
  createProxyMiddleware({
    target: process.env.PRODUCT_SERVICE_URL,
    changeOrigin: true,
    pathRewrite: { "^/products": "" },
  })
);

module.exports = router;
6. Start the API Gateway
Run the gateway:
node server.jsYour API Gateway will forward requests:
/auth/*→ Auth Microservice/users/*→ User Microservice/products/*→ Product Microservice
7. Example Microservices
To test, you can create simple microservices:
Auth Service (server-auth.js)
const express = require("express");
const app = express();
app.use(express.json());

app.get("/", (req, res) => res.send("Auth Service"));

app.listen(4001, () => console.log("Auth Service running on port 4001"));
Run it:
node server-auth.jsSimilarly, create User Service and Product Service with ports 4002 and 4003.
8. Conclusion
You now have a working API Gateway that:
- Routes requests to different services
- Hides microservice details from clients
- Centralizes authentication, logging, and request handling
