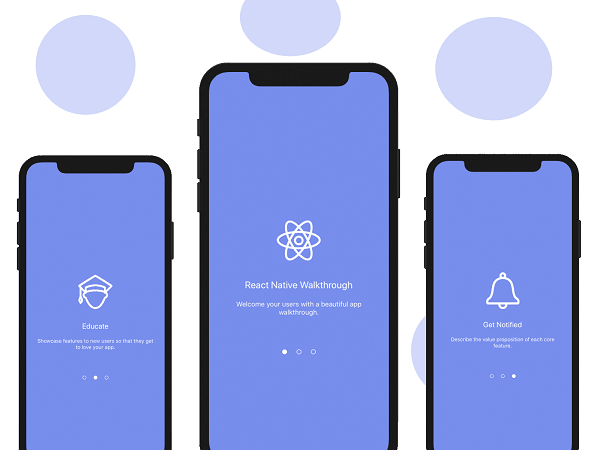
Getting Started
Creating a new application
If you previously installed a global react-native-cli package, please remove it as it may cause unexpected issues.
React Native has a built-in command line interface, which you can use to generate a new project. You can access it without installing anything globally using npx, which ships with Node.js. Let's create a new React Native project called "ReactNativeProject":
npx react-native init ReactNativeProjectRunning your React Native application
If you use the Yarn package manager, you can use yarn instead of npx when running React Native commands inside an existing project.
Run npx react-native run-android inside your React Native project folder:
cd ReactNativeProject
npx react-native run-android
If everything is set up correctly, you should see your new app running in your Android emulator shortly.
Modifying your app
Now that you have successfully run the app, let's modify it. Open App.js in your text editor of choice and edit some lines.
import React, { Component } from 'react';
import AsyncStorage from '@react-native-community/async-storage';
import { View, Text } from "react-native";
import OnBoarding from './src/components/OnBoarding';

export default class App extends Component {

  state = {
    firstLaunched: 'false',
    loading: false
  }

  async componentDidMount() {
    this.setState({ loading: true });
    await AsyncStorage.getItem('firstLaunchKey').then(response => {
      if (response) {
        this.setState({ firstLaunched: response });
      }
    });
    this.setState({ loading: false });
  }

  async writeDataToLocal() {
    this.setState({ loading: true, firstLaunched: 'true' });
    await AsyncStorage.setItem('firstLaunchKey', 'true');
    this.setState({ loading: false });
  }

  render() {
    if (this.state.firstLaunched == 'true' && !this.state.loading) {
      return <View style={{ alignItems: 'center', justifyContent: 'center', flex: 1 }}>
      <Text style={{ fontSize: 25 }}>Welcome to here</Text></View>
    } else if (this.state.loading) {
      return <View style={{ alignItems: 'center', justifyContent: 'center', flex: 1, backgroundColor: '#8e8f91' }}>
        <Text style={{ color: '#fff' }}>Application starting...</Text>
      </View>
    } else {
      return <OnBoarding onLoadFunc={() => this.writeDataToLocal()} />
    }
  }
}
Now create onboarding component for example inside src/components/OnBoarding.js. Open OnBoarding.js in your editor
import React from 'react';
import { Image } from 'react-native';
import Onboarding from 'react-native-onboarding-swiper';

// be carefully images correctly imported from right path
const img1 = require('../assets/img/image1.png');
const img2 = require('../assets/img/image2.png');
const img3 = require('../assets/img/image3.png');
const img4 = require('../assets/img/image4.png');

const OnBoarding = (props) => {
    return (
        <>
            <Onboarding
                onSkip={props.onLoadFunc}
                onDone={props.onLoadFunc}
                pages={[
                    {
                        backgroundColor: '#cbf2f5',
                        image: <Image source={img1} resizeMode="contain" style={{ width: 200, height: 200 }} />,
                        title: 'Management',
                        subtitle: 'Approach to manage a company\'s interaction with current and potential customers',
                    },
                    {
                        backgroundColor: '#fcc5b6',
                        image: <Image source={img2} resizeMode="contain" style={{ width: 200, height: 200 }} />,
                        title: 'Data analysis',
                        subtitle: 'It uses data analysis about customers\' history with a company to improve business relationships with customers',
                    },
                    {
                        backgroundColor: '#fff',
                        image: <Image source={img3} resizeMode="contain" style={{ width: 200, height: 200 }} />,
                        title: 'Strategic',
                        subtitle: 'Strategic CRM is concentrated upon the development of a customer-centric business culture',
                    },
                    {
                        backgroundColor: '#E6E7E8',
                        image: <Image source={img4} resizeMode="contain" style={{ width: 200, height: 200 }} />,
                        title: 'Get started',
                        subtitle: "Beautiful, isn't it?",
                    },
                ]}
            />
        </>
    );
};

export default OnBoarding;
Finally we need install some npm modules
yarn add react-native-onboarding-swiper
yarn add @react-native-community/async-storage
That's it!
Congratulations! You've successfully run your React Native OnBoarding app.
